
Installing PVC Roofing tiles on roofs with varying slopes requires careful planning and execution to ensure the best effect and longevity. Here are detailed steps and tips to ensure optimal installation:
Preparation and Planning
- Assess Roof Slope
– Low Slope (0-10 degrees): Special care is needed to ensure water runoff and prevent pooling.
– Moderate Slope (10-30 degrees): Standard installation techniques apply.
– High Slope (30+ degrees): Additional fastening and safety measures are required.
- Check Local Building Codes
– Ensure compliance with local regulations regarding roofing materials and installation practices.
- Gather Materials and Tools
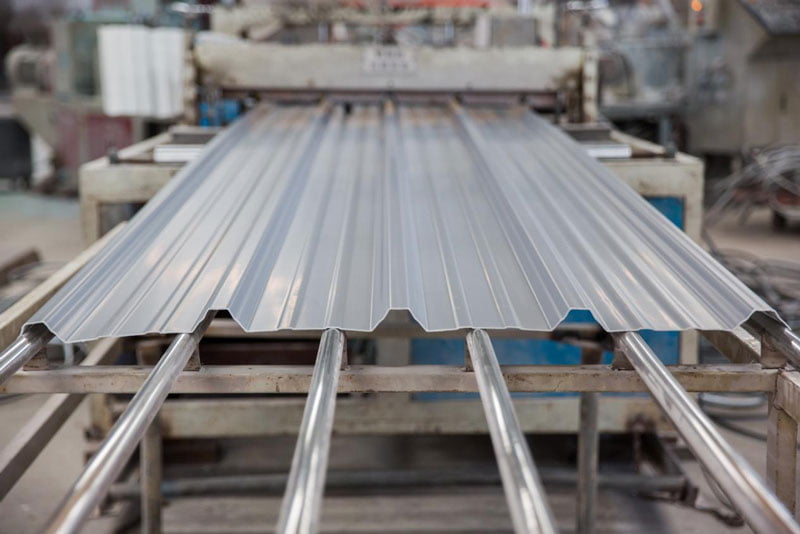
– PVC tiles
– Fasteners (screws, nails)
– Underlayment or waterproof membrane
– Sealant and flashing
– Measuring tape, level, chalk line, utility knife, saw
– Safety gear (harness, gloves, goggles)
Installation Steps
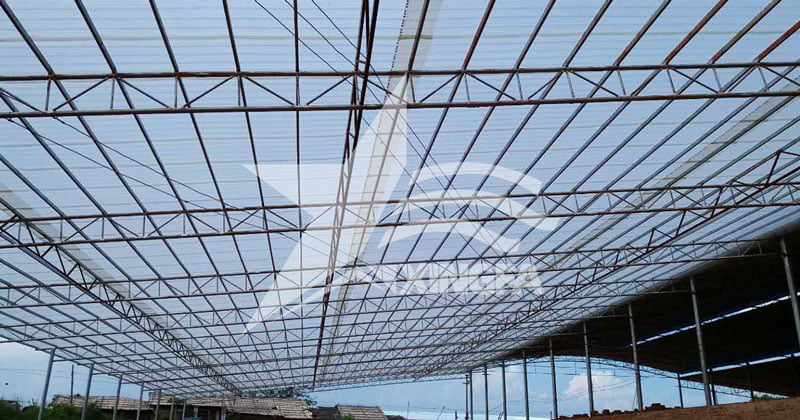
- Prepare the Roof Surface
– Clean the roof surface to remove any debris, old roofing materials, and ensure it is dry.
– Repair any damaged areas to provide a stable and smooth base for the PVC tiles.
- Install Underlayment
– Apply a waterproof membrane or underlayment across the entire roof surface to provide additional protection against leaks.
– Overlap the edges of the underlayment by at least 6 inches and secure it with appropriate fasteners.
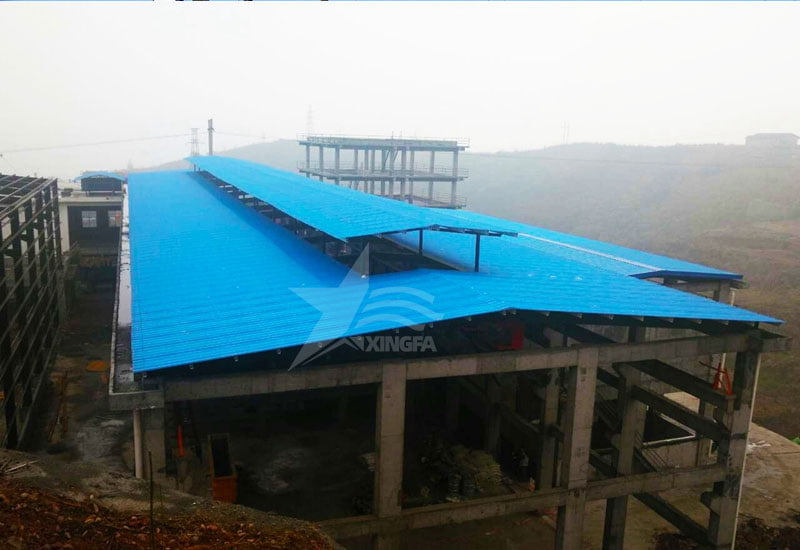
- Plan the Tile Layout
– Measure and mark the starting point using a chalk line. Begin at the lowest edge of the roof (eave) and work upward.
– Ensure the first row of tiles is straight and aligned, as it will guide the rest of the installation.
- Install the First Row of Tiles
– Lay the first row of PVC tiles along the eave, ensuring they overhang slightly to allow water runoff into the gutters.
– Fasten each tile securely using appropriate screws or nails, ensuring they penetrate both the tile and the roof deck. Use washers if necessary to prevent damage to the tiles.
- Subsequent Rows
– Install subsequent rows, overlapping each row as per manufacturer’s recommendations (usually about 2-4 inches).
– Stagger the joints between rows to enhance stability and appearance.
– For steeper slopes, consider additional fastening points to secure the tiles against wind uplift and slipping.
- Handling Different Slopes
– Low Slope: Ensure a proper seal between overlapping tiles to prevent water infiltration. Use extra sealant if necessary.
– Moderate Slope: Follow standard overlap and fastening guidelines. Ensure tiles are evenly spaced and aligned.
– High Slope: Use additional fasteners and check each tile for secure placement. Work from a scaffold or secure harness for safety.
- Install Flashing and Ridge Caps
– Install flashing around chimneys, vents, and other roof penetrations to prevent leaks.
– Apply ridge caps along the roof peak to cover the top edges of the tiles and provide a finished look. Secure them with fasteners and sealant.
- Final Inspection
– Inspect the entire roof for any loose tiles, gaps, or unsealed joints.
– Ensure all fasteners are properly seated and no sharp edges are exposed.
Maintenance Tips
- Regular Inspections
– Inspect the roof periodically, especially after severe weather, to ensure tiles are intact and secure.
- Cleaning
– Remove debris such as leaves and branches that can accumulate and cause water pooling.
- Repairs
– Promptly repair any damaged or loose tiles to prevent further issues.
By following these steps and adapting techniques to the specific slope of the roof, you can ensure a successful installation of PVC roof panels that provides effective protection and longevity.

