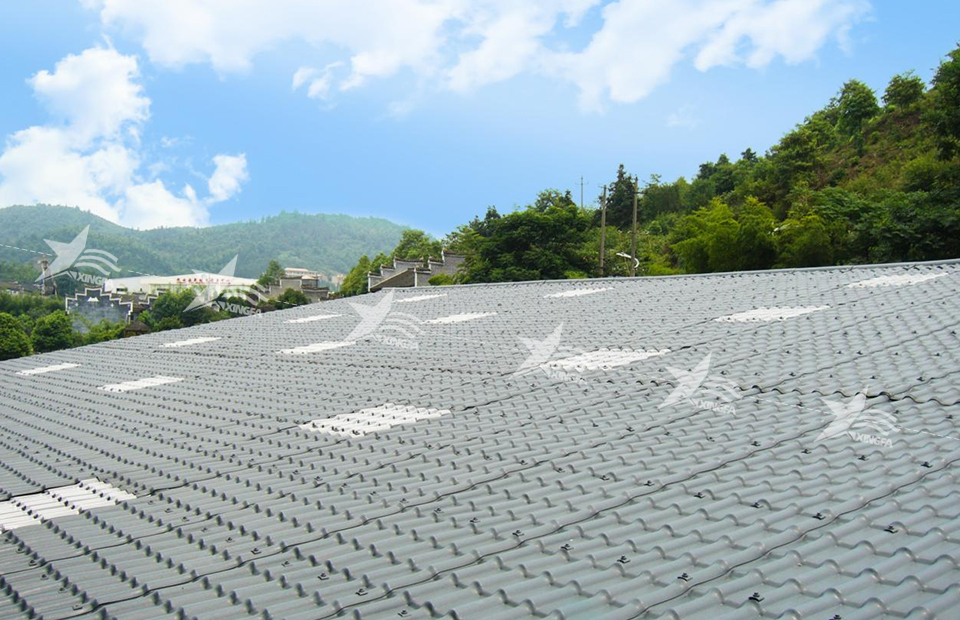
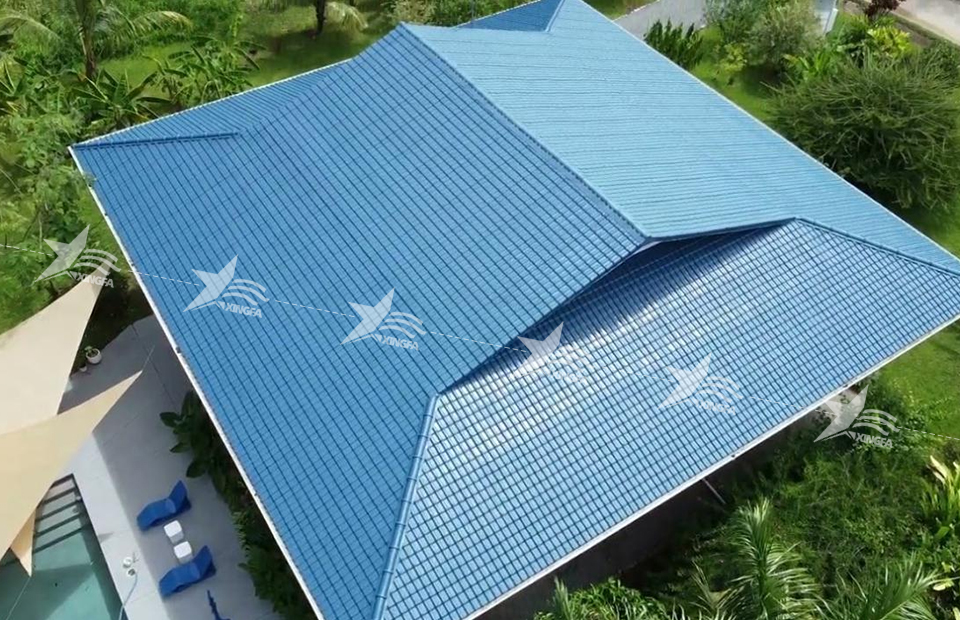
With the continuous improvement of environmental awareness and the continuous development of construction technology, synthetic resin tiles, as a new type of lightweight and environmentally friendly building materials, are gradually becoming people’s first choice for building roofs. However, how to ensure that the synthetic resin tiles are installed more firmly has become the focus of many people’s attention. This article will introduce you to the key steps of installing synthetic resin tiles in detail to help you create a stronger and more durable roofing.
- Preparation
Before starting to install synthetic resin tiles, be sure to make adequate preparations. First, clean the roof base to make sure it is smooth and clean. Secondly, check the soundness of the basic structure, and repair and reinforce it if necessary to withstand the weight of the synthetic resin tile and the impact of the external environment.
- Use professional tools
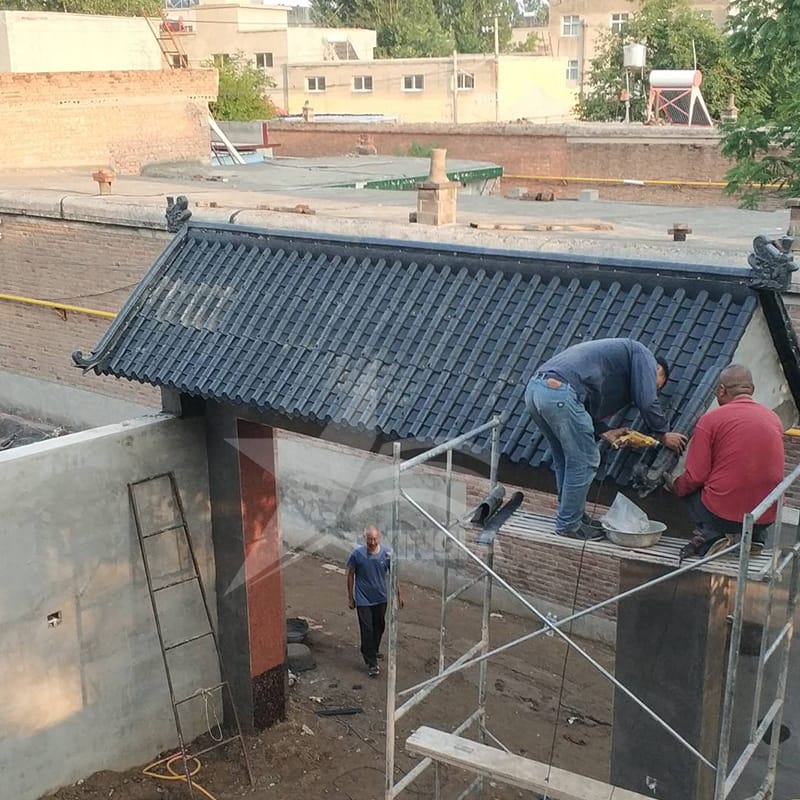
Choosing the appropriate installation tools is crucial to ensuring a quality installation. Make sure you have the correct tools, such as tile hooks, clamps, screws, etc., to install the synthetic resin tiles correctly and ensure their firmness.
- Make sure it’s level
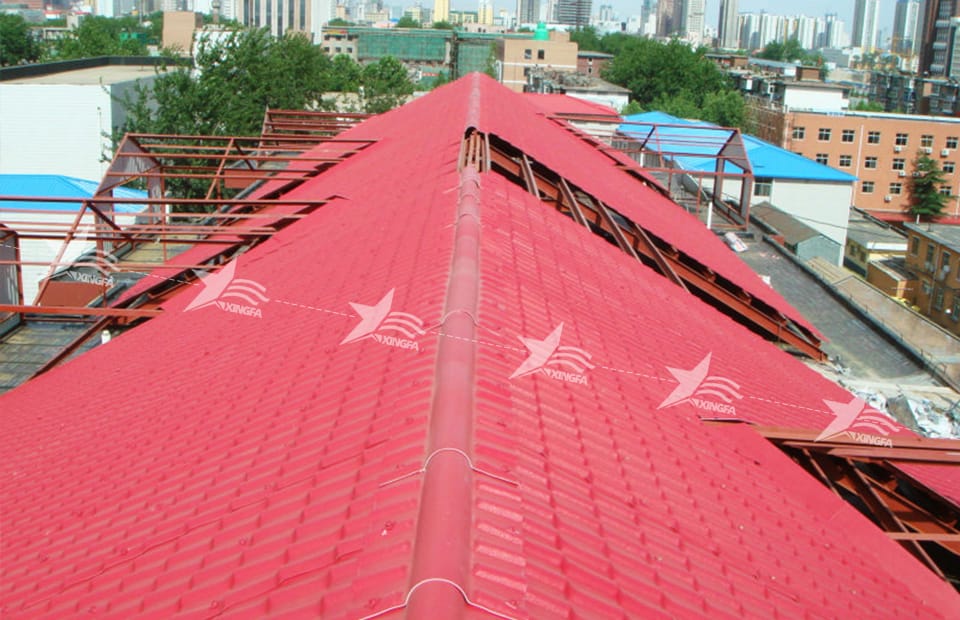
During installation, use a level to ensure that the synthetic resin tiles are level. Only by ensuring that the tiles are level can the stability and beauty of the overall roof structure be ensured.
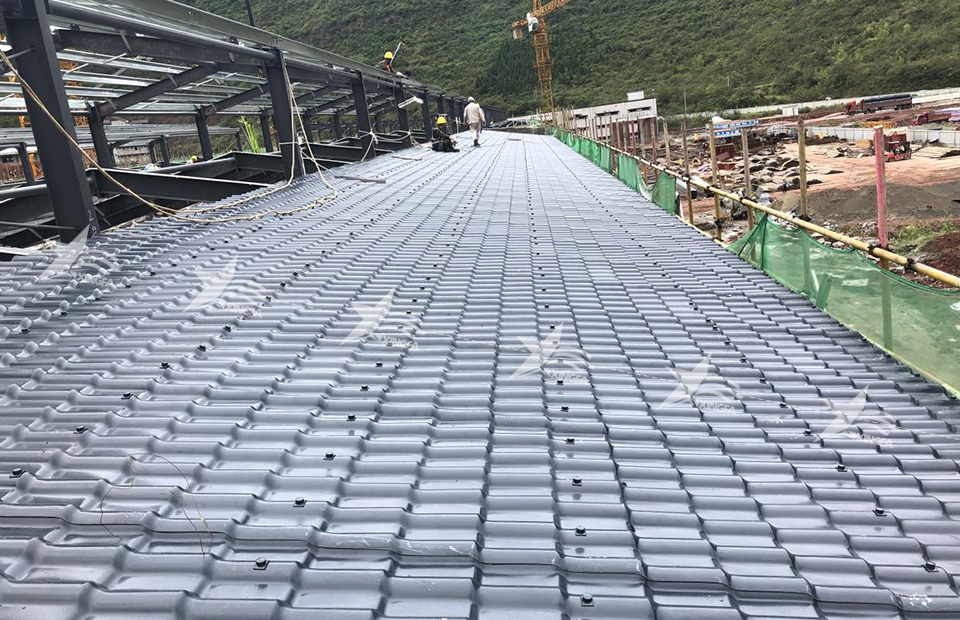
- Proper fixation
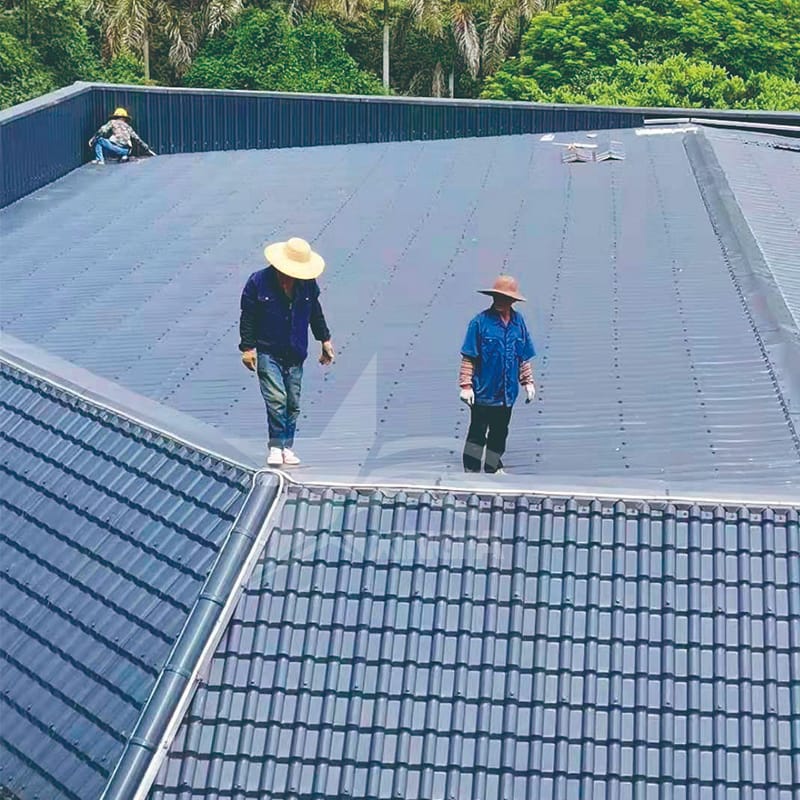
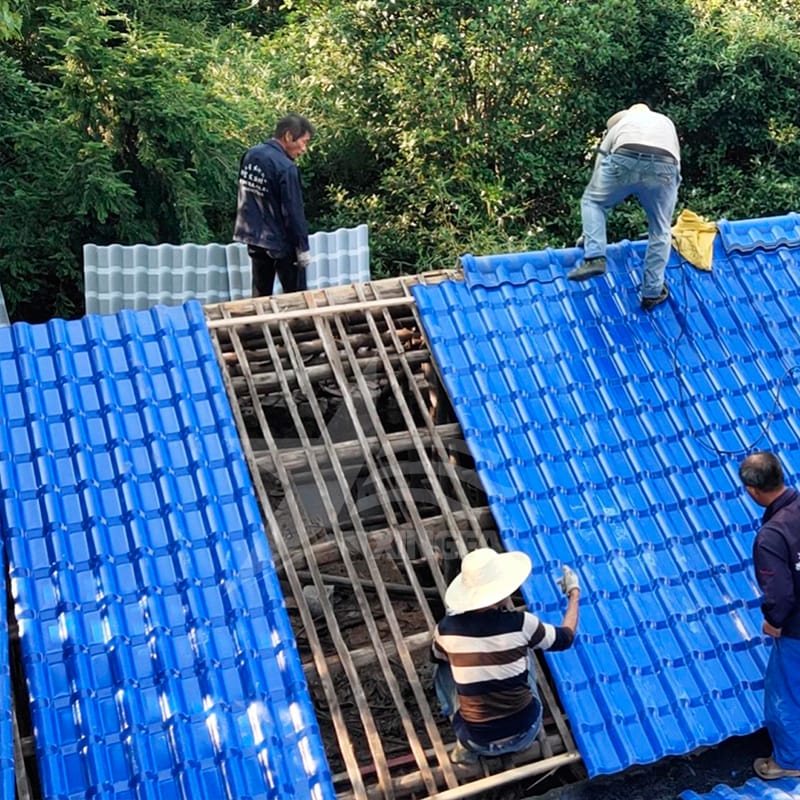
Use a sufficient number of fasteners, such as screws or nails, to securely secure the synthetic resin tiles to the underlying structure. Make sure each tile is properly secured to prevent it from being damaged or falling off in the elements.
- Even spacing
Make sure the resin tiles are evenly spaced to allow enough room for expansion and contraction. Proper spacing reduces friction and stress between shingles, extending their service life.
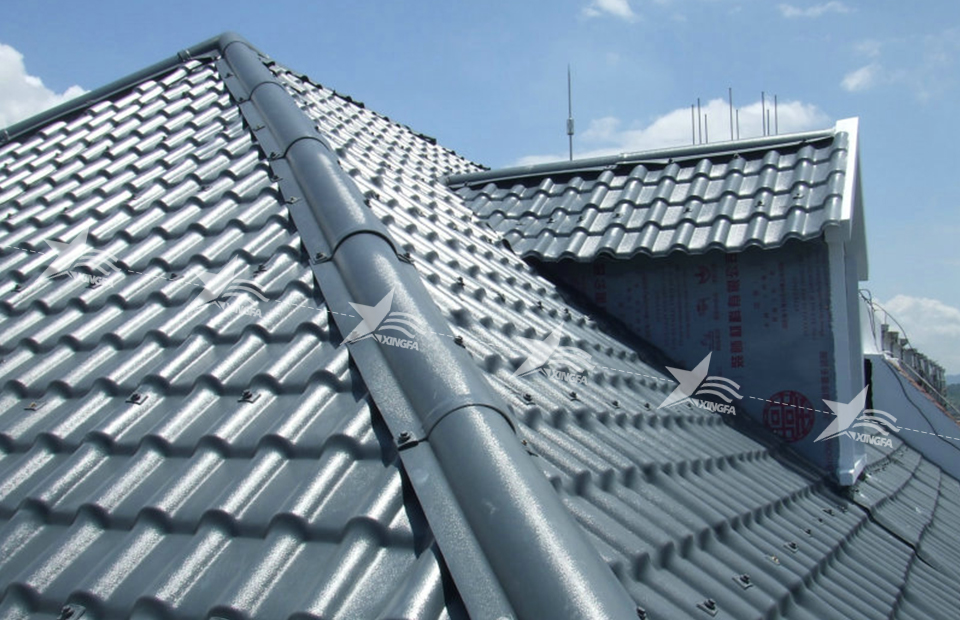
- Correct overlapping
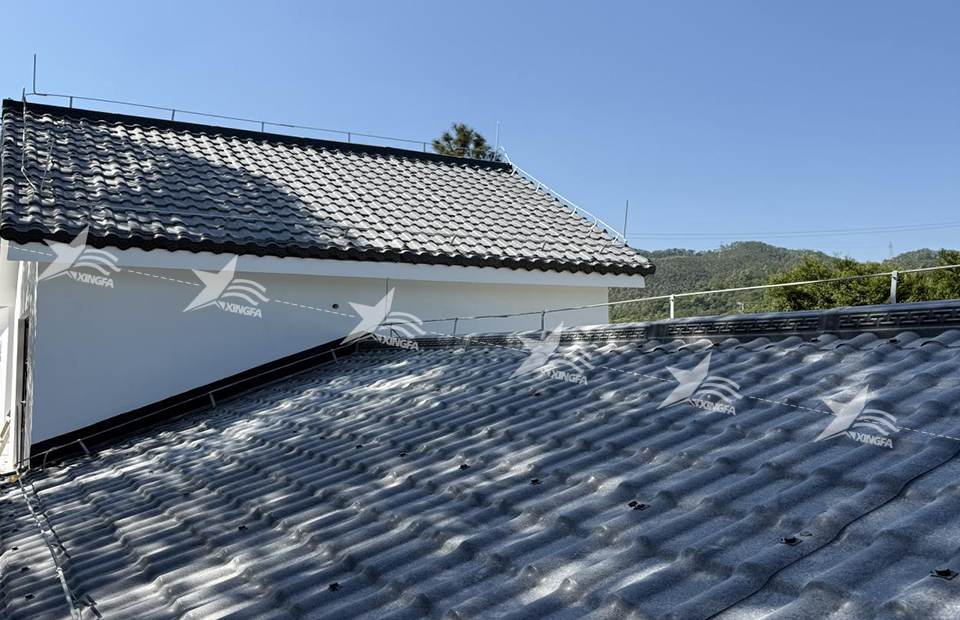
The overlap between synthetic resin tiles must be correct to ensure waterproofing and overall aesthetics. During installation, be sure to properly lap each tile according to the manufacturer’s instructions to avoid problems with water penetration and structural loosening.
- Follow manufacturer recommendations
When installing synthetic resin tiles, be sure to follow the manufacturer’s recommendations and guidance. They often provide detailed installation instructions and technical support to help you ensure the quality and durability of your installation.
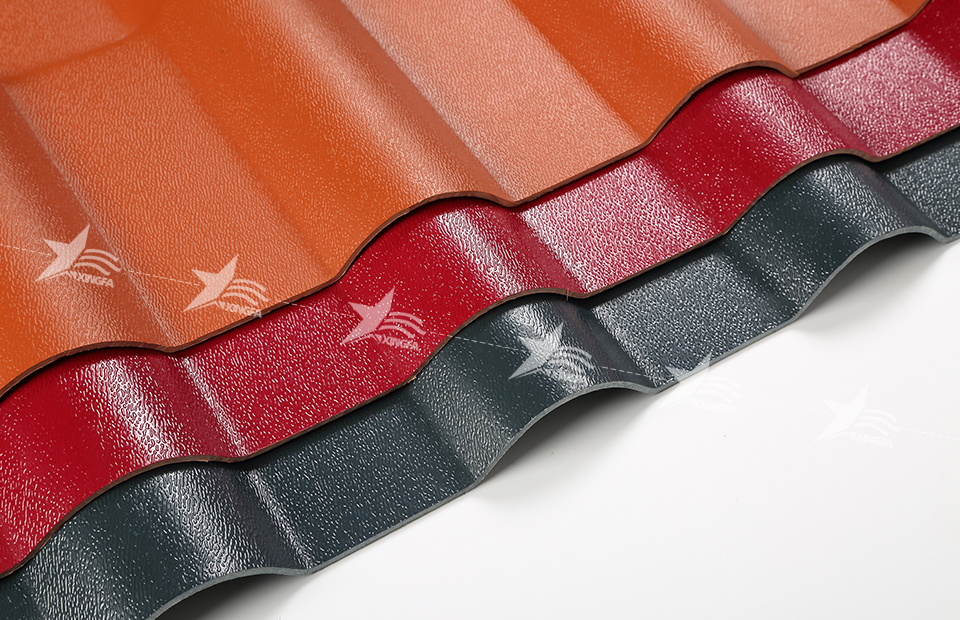
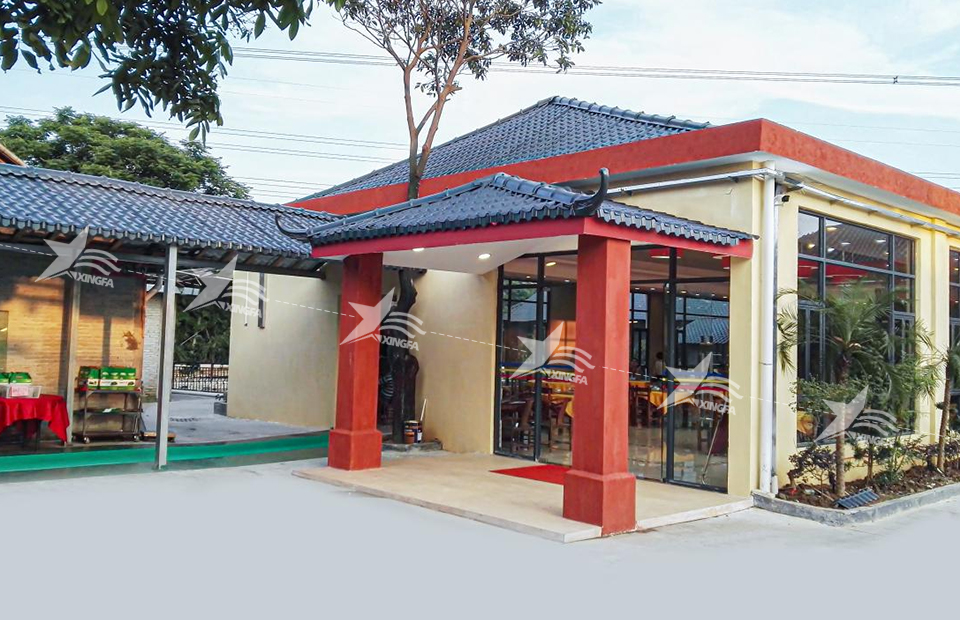
By following the key steps above, you can ensure a stronger and more reliable installation of your synthetic resin tiles. Synthetic resin tiles are not only environmentally friendly and energy-saving, but also have excellent weather resistance and anti-aging properties, providing long-term protection and beautiful appearance for your building.