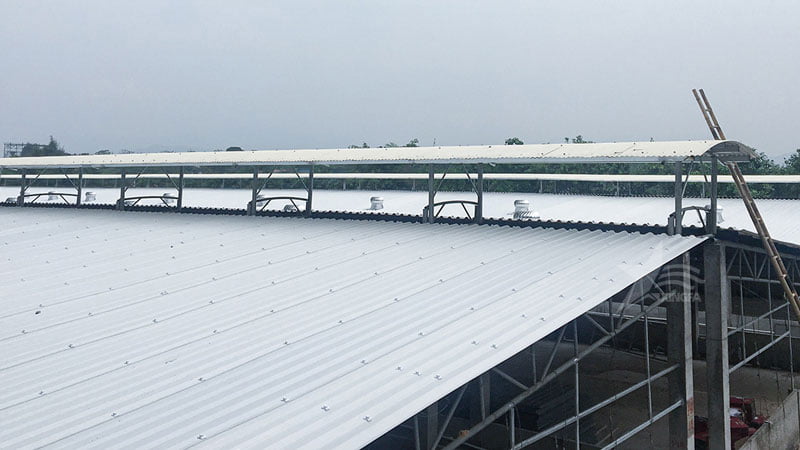
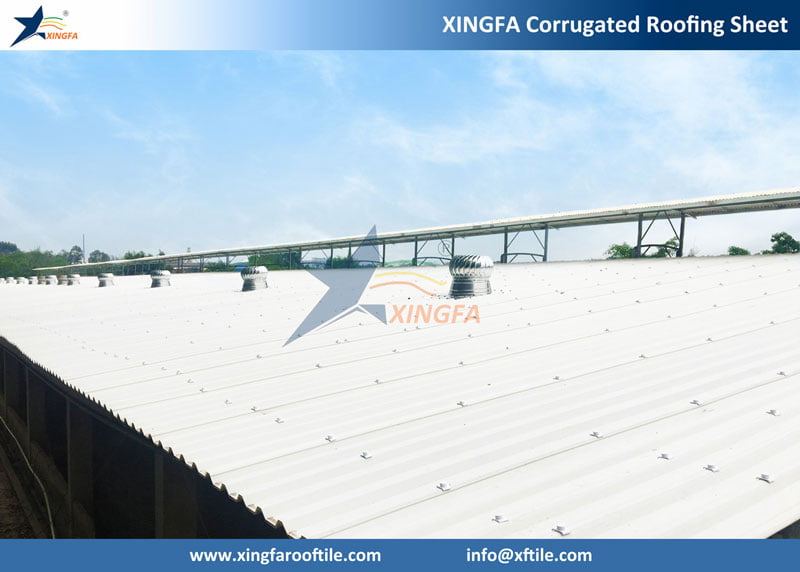
As society evolves, so do people’s expectations for their living environments. The roof, as a prominent part of a home’s exterior, plays a crucial role in enhancing its aesthetic appeal through proper tile installation. Before embarking on roof tile installation, it’s essential to consider some important steps and techniques to ensure a beautiful outcome. Let’s delve into the details:

- **Setting Guidelines for Aesthetic Appeal**
Before starting the installation, it’s crucial to set guidelines based on the actual conditions of the outer layer of the house. This step ensures that the tiles are laid out horizontally and vertically correctly, in the right quantity, and with an aesthetically pleasing appearance. Proper guidelines help avoid later adjustments and corrections, thereby enhancing installation efficiency.

- **Techniques for Main Tile Installation**
Installing the main tiles is pivotal; ensure that one edge aligns precisely with the center and auxiliary lines. Additionally, the upper and lower parts of the main tiles should run parallel to the auxiliary lines to maintain uniformity throughout. This step forms the foundation of the entire installation process and requires meticulous attention to detail.
- **Skillful Overlapping of Ridge Tiles**
Installing ridge tiles begins from one end of the ridge line, avoiding stacking over the main tiles. Create an elegant wave pattern between two ridge tiles, enhancing the overall aesthetic appeal of the roof.
- **Precise Installation of Hip Tiles**
Hip tiles are installed on the sloping sides of multi-sloped roofs, ensuring both upper and lower edges align with the main tile purlins. The gap between two hip tiles should be precisely 30mm, and ensure the end of the ridge tiles is installed correctly. This step is critical for the roof structure and requires precision and patience.
- **Strategic Placement of Valley Tiles**
Valley tiles are installed after the main and hip tiles. Place one side on the ridge tile and the other two sides on the hip tiles. Proper installation allows valley tiles to cleverly fit at the intersection of three faces, adding visual appeal to the overall structure.
- **Ingenious Eave Design**
Eaves are set along with the lower part of the main tiles, using double-layer self-tapping screws on the purlins. If there’s a significant distance between the eave of the main tile and the purlin or if the eave length is insufficient, use bolts for additional stability. Thoughtful eave design not only enhances the overall aesthetic of the roof but also improves its stability.

By following this comprehensive roof tile installation guide, you’ll be well-equipped to handle the installation process effectively, ensuring your home’s exterior is both visually appealing and structurally sound. Pay attention to every detail throughout the installation process to achieve a satisfying final result.
