Руководство по ремонту протечки черепицы из смолы: три шага для решения ваших проблем
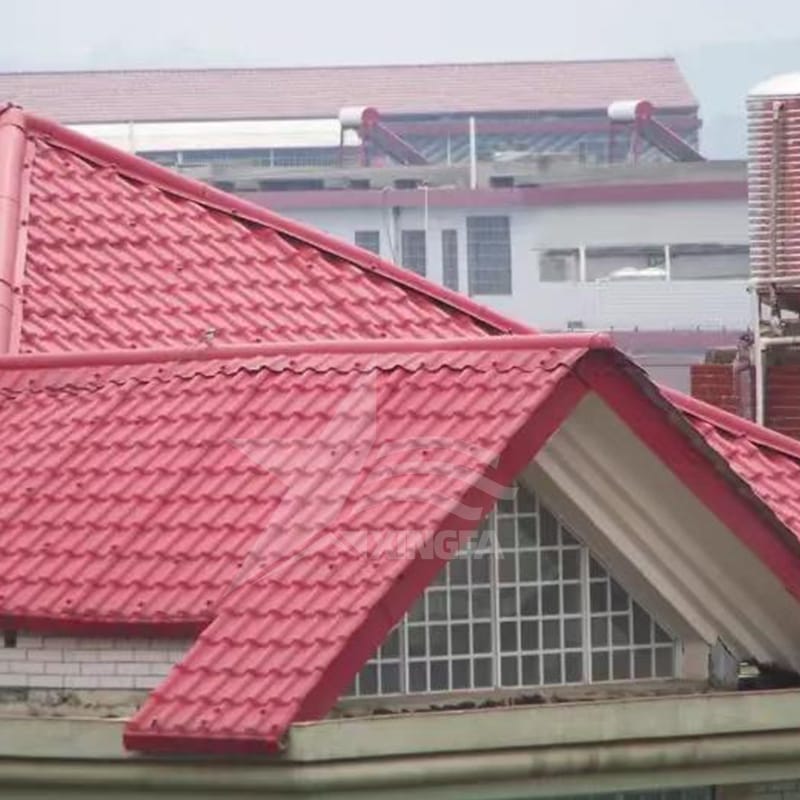
Resin roof tiles have become an indispensable choice in many modern construction projects. However, due to either neglecting quality selection or improper installation, leaks can become an unavoidable issue. Knowing how to address this problem is crucial. In this guide, we will detail the methods for repairing leaks in resin roof tile seams, presenting a three-step approach to effectively resolve the issue.

#### Step One: Identify the Leak Location
The first step in repairing a leak in resin roof tile seams is to identify the specific location of the leak. Leaks typically stem from three primary causes: damaged resin tiles, issues with installation connections, or drainage blockages. Once the leak’s location is pinpointed, you can address the underlying cause accordingly.
#### Step Two: Clean the Leak Area
After identifying the leak location, the next step is to clean the affected area thoroughly. Remove any dirt and debris from the surface to ensure the area is clean and ready for repair. If the leak is due to a drainage blockage, simply clearing the drain will resolve the issue. However, if there are cracks or damage, further repair will be necessary.
#### Step Three: Repair the Leak
With the leak location identified and the area cleaned, you can proceed with the repair. If the leak is caused by damaged resin tiles, you can use resin or clear adhesive to fix the issue. For leaks occurring in corner areas, it’s essential to enhance the sealing in those regions.
By following these three steps, you can effectively address leaks in resin roof tile seams. It’s important to determine the exact cause of the leak to choose the appropriate repair strategy. Always ensure safety and follow correct procedures when dealing with leaks. If you need professional assistance, it’s advisable to consult with a construction or repair service provider.