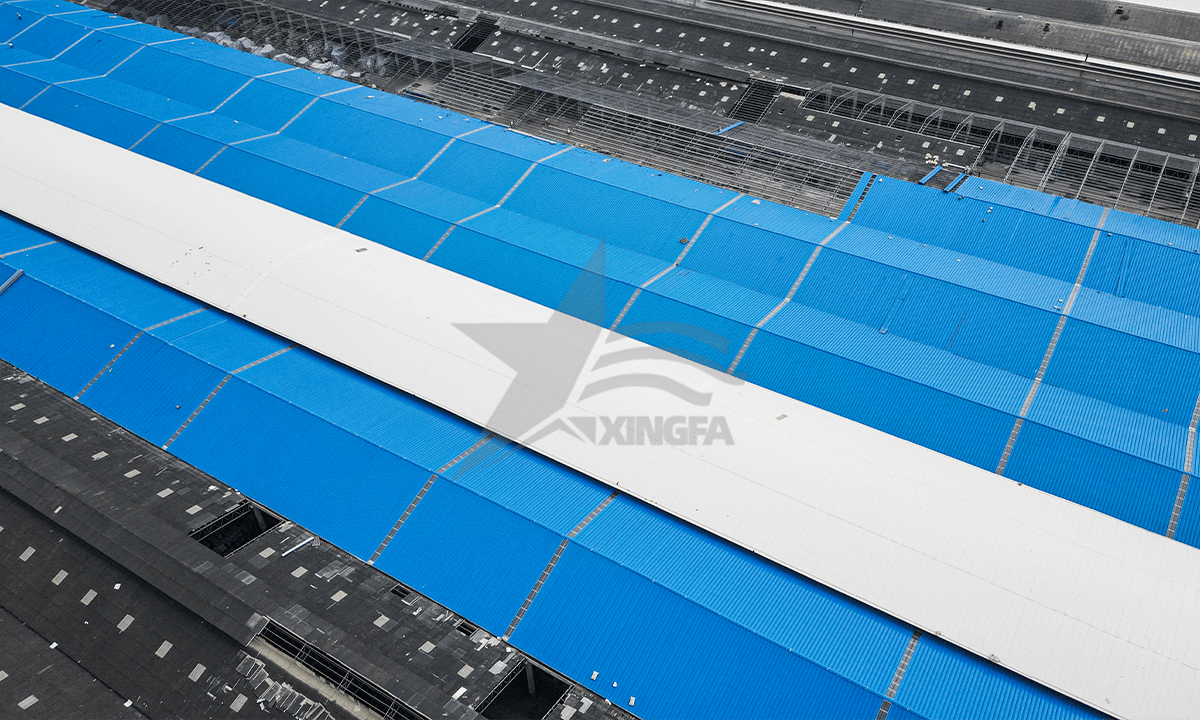
With the continuous development of society, people have higher and higher requirements for the living environment. The roof is part of the appearance of the house, and installing tiles is an effective way to improve the beauty of the house. There are some important steps and tips to note before proceeding with roof tile installation, let’s take a look at them.

- Lay out the wires to ensure beautiful appearance
Before formal installation, be sure to lay out the wiring according to the actual condition of the exterior of the house. This step is the basis for ensuring that the tiles are horizontally and vertically, in appropriate quantity, and have a beautiful appearance. Through reasonable laying out, later adjustments and corrections can be avoided and installation efficiency can be improved.
- Main tile installation skills
The installation of the main tile is very important, and it is necessary to ensure that the center of the side flanker and the auxiliary line coincide. At the same time, the upper and lower parts of the main tiles are parallel to the auxiliary lines to ensure a more unified overall effect. This step is the cornerstone of the entire installation process and must be performed carefully.
- Clever overlapping of main ridge tiles
The installation of the ridge tiles should start from the side of the main tile area on the roof ridge line. The overlapping area of the first tile should be careful to avoid overlapping with the main tile. An elegant wave shape is formed in the middle of the two main ridge tiles, enhancing the beauty of the overall roof.
- Precise installation of inclined ridge tiles
Inclined ridge tiles are installed on the inclined edges of multi-slope roofs, ensuring that the upper and lower edges are on the main tile purlins. The two oblique ridge tiles need to be connected 30 mm in the middle, and finally the ends of the ridge tiles are installed. This step is critical to the roof structure and requires precision and patience.
- Reasonable placement of tee tiles
The installation of tee tiles needs to be carried out after the installation of the front and inclined tiles is completed. One side is placed on the main ridge tile, and the other two sides are placed on the oblique ridge tile. Through reasonable installation, the tee tiles can be cleverly installed at the vertices where the three sides intersect, adding a lot of color to the overall structure.
- Clever design of the eaves
The eaves are set together with the lower section of the main tiles, and are installed on the purlins in double layers using self-tapping nails at the end of the main tiles. If the distance between the main tile eaves and the purlins is too large, or the length of the eaves is insufficient, it can be fixed by bolts alone. The reasonable design of the eaves can not only increase the overall beauty of the roof, but also improve the stability of the roof.

Through the above comprehensive roof tile installation guide, I believe you can easily handle the roof tile installation work and make your house look more beautiful and stable. Throughout the entire installation process, it is important to pay attention to every detail to ensure the final result is satisfactory.


