
Synthetic resin roof tiles are widely used on construction sites. However, even if the product quality is excellent, improper installation can still lead to problems such as roof leakage and cracking. Therefore, it is imperative to master the correct installation method.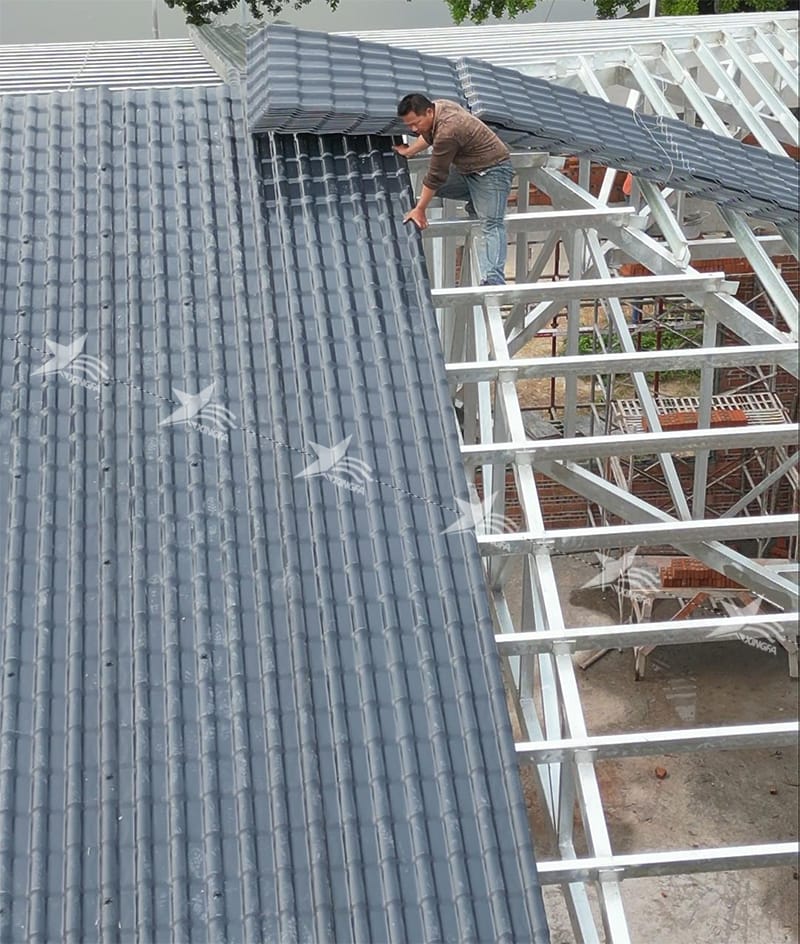
1. Pre-drill holes
Before fixing the resin tiles, holes must be drilled first. The hole diameter should be greater than 50% of the diameter of the fixing screw to prevent the tile from cracking due to internal stress caused by thermal expansion and contraction.
2. Longitudinal lap joint waterstop
When the resin tile is longitudinally overlapped with the steel plate, the overlapping part should be at least 200mm, and two waterstop belts should be attached to ensure the waterproofing effect.
3. Installation direction of main tiles
The main tiles should be installed in the reverse direction according to the local wind direction. The transverse lap between two tiles should cover one wave peak, and the longitudinal lap should have one tile as the pitch. The lap joint must be fixed to the purlin with self-tapping bolts.
4. Simultaneous installation on both sloping roofs
For two-sided pitched roofs, the tiles on both sides should be installed synchronously and symmetrically to ensure that the waveforms of the ridge tiles match during installation and to avoid gaps.
5. Ridge tile treatment
The overlap between the main ridge tiles and the inclined ridge tiles should be treated to be smooth to facilitate the smooth installation of the three-way fittings and ensure the stability of the overall structure.
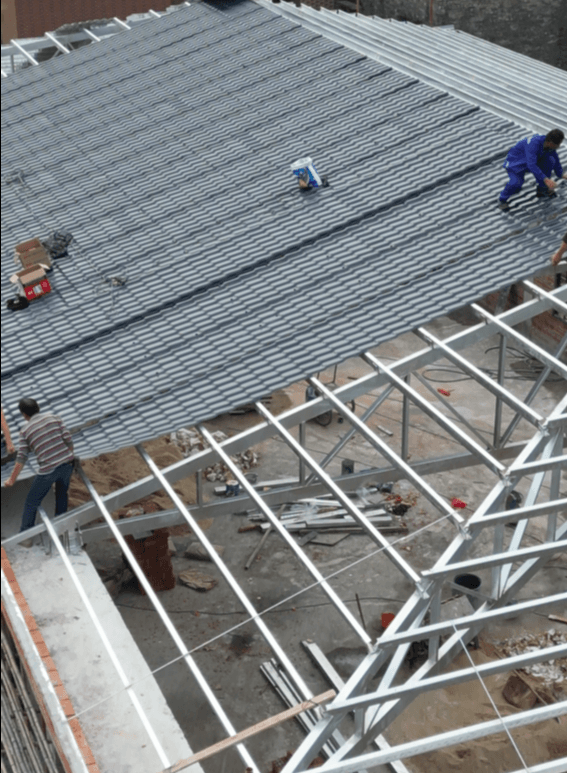
6. Construction Precautions
During construction, it is strictly prohibited to directly step on the wave peaks to cause the tiles to crack. Anti-slip thick wooden boards should be placed horizontally to ensure the safety of construction workers and the integrity of the tiles.

7. Use of fasteners
Fix the resin tile with special self-tapping bolts. First, place the sealing gasket, then tighten it moderately with an electric wrench, and finally cover it with a waterproof cap to ensure the waterproofing effect and firmness.
