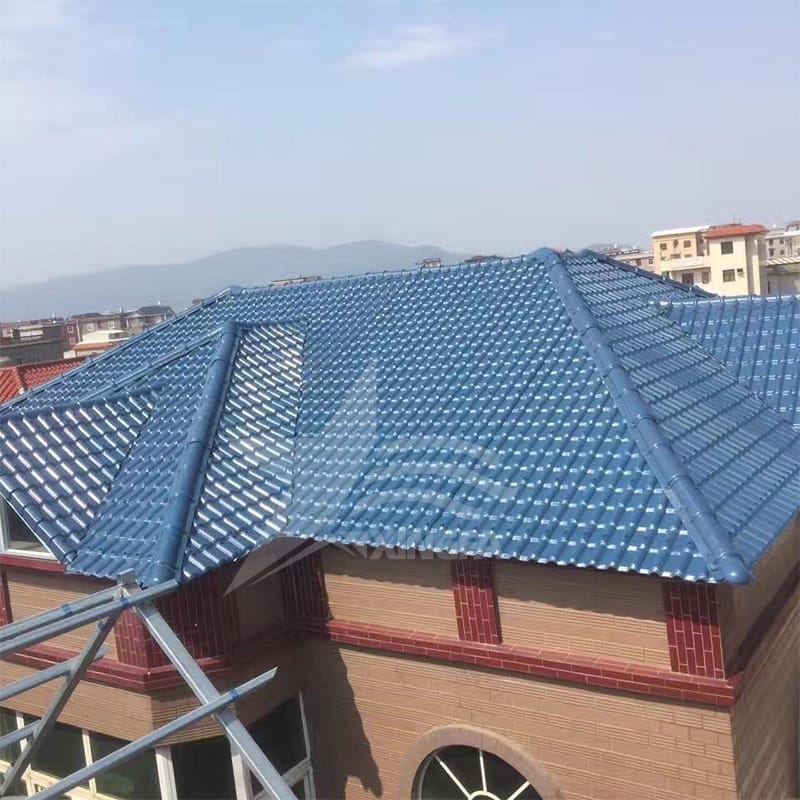
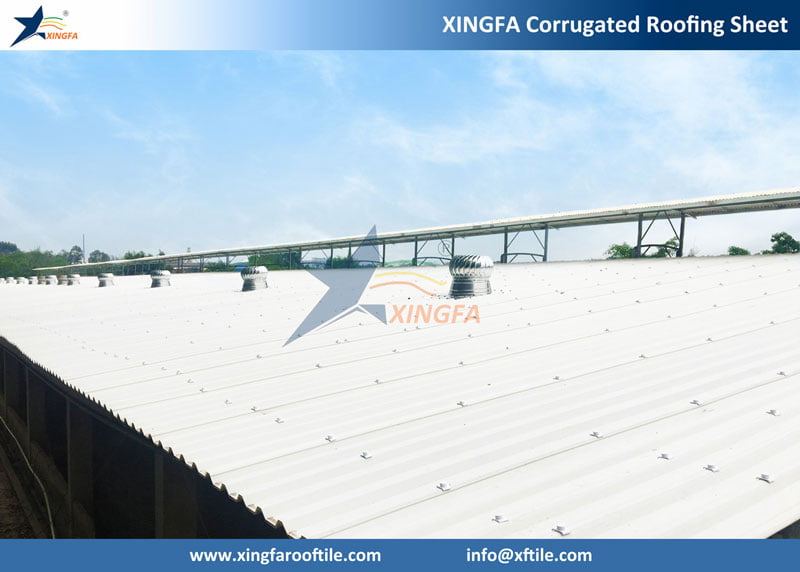
PVC roofing sheets are a popular choice for many due to their durability and anti-corrosive properties. If you’re considering installing these sheets for your roof, here are six simple steps to follow.
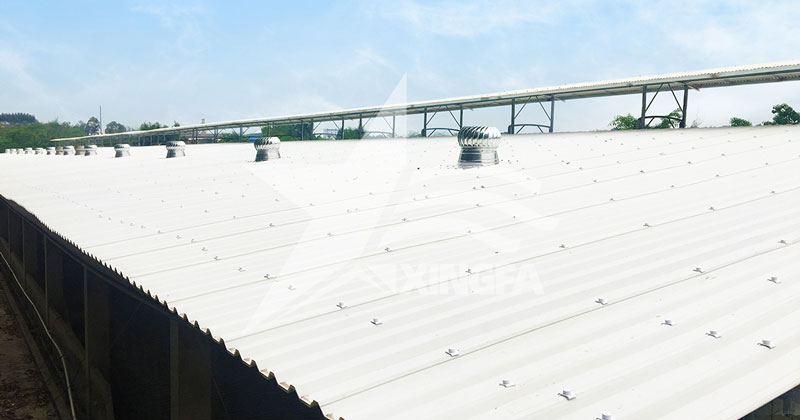
- **Preparation**: Before starting, ensure you have all necessary tools, including a measuring tape, utility knife, and safety equipment. Measure the area where you will install the sheets to determine how many you need.
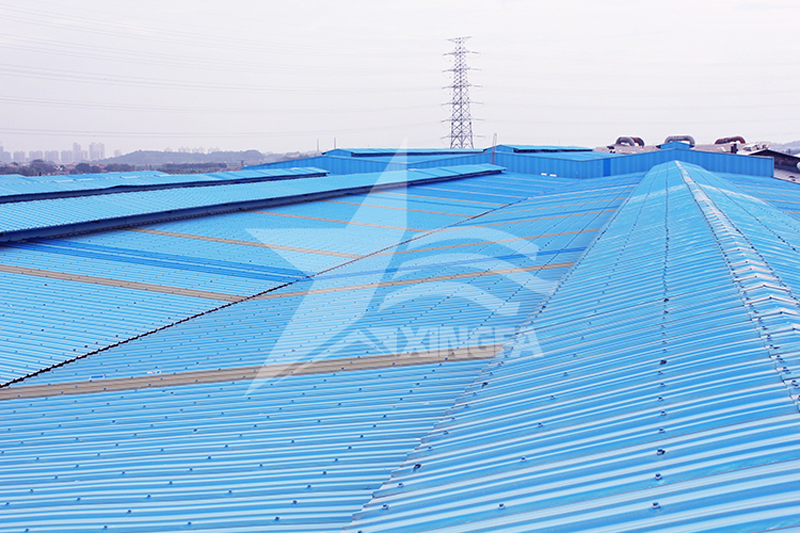
- **Select the Right Sheets**: Choose your PVC roofing sheets from a reliable source such as Lowes. Ensure they are suitable for your specific roofing requirements.
- **Cutting the Sheets**: Using your utility knife, carefully cut the PVC sheets to match the dimensions of your roof. It’s important to make precise cuts for a better fit.
- **Installation of Underlayment**: Lay down a waterproof underlayment to provide an additional layer of protection against moisture.
- **Attach the Sheets**: Start installing the PVC roofing sheets from the lowest point of the roof. Secure them using screws or nails, ensuring they overlap to prevent leaks.
- **Finishing Touches**: Once all sheets are installed, check for any gaps or loose edges. Seal these with appropriate roofing sealant to enhance durability.
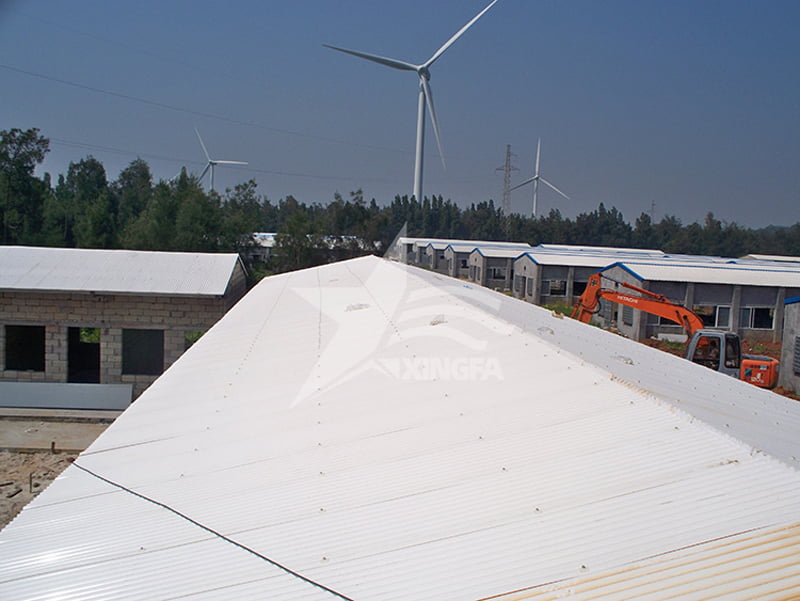
By following these steps, you can ensure a successful installation of your PVC roofing sheets, providing protection and longevity for your building.


